 1/4″ seams throughout. All raw edges should be overcast to keep them from fraying. Your machine may have such a stitch built in. Otherwise, just zig-zag OVER the raw edge – this works great!
![]()
1. Choose kid friendly cotton fabrics and cut:
- One piece for the main part of the case – 18″ x 28″
- One piece for the band on the open end – 10″ x 28″
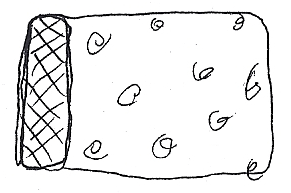
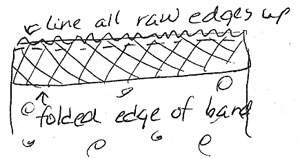
2. Iron: the band in half (wrong sides together) so it measures 5″ x 28″

3. Pin and Sew: Match raw edges of the band to the right side of the long edge of the pillow case. Pin and sew / overcast this seam with a 1/4″ seam allowance. Press this seam smooth, then turn band down and press seam allowance toward pillow case.

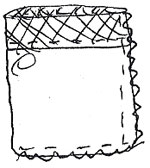
4. Fold: pillow case in half, right sides together. Sew / overcast side and end seams. Iron seam smooth.

5. Turn: pillow case right side out, making sure that corners are turned to look nice. Iron pillow case again, and TaaaDaaaa, it’s DONE!
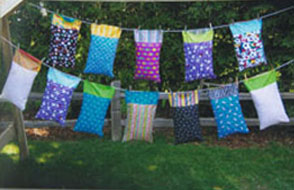
Wasn’t that quick and fun? Feel free to use more than just 2 fabrics on each pillow case – front different from back, inside of the band different from outside, etc. Top-stitch with contrast thread and a fun stitch where band meets pillow case. May also be stitched on a serger.

